Beagleboard LCD hack
20th Jan 2011
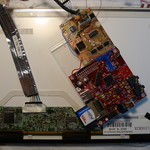
This hack involves reusing a leftover 1280x800 laptop TFT panel by attaching it to a Beagleboard. The Beagleboard in question is a revision B4, and hence doesn’t have LCD signal outputs on the board….. cue a soldering frenzy.
This is the second Beagleboard modification of this kind that I’ve done. The first was a prototype Touchbook (before the revC existed) for Gregoire Gentil.
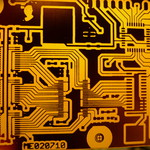
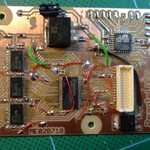
The PCB is a kitchen PCB, but due to the miniscule pin spacing (12 mil tracks) I decided to try out photoresist transfer. (I laserprinted onto tracing paper & held it under a fluorescent desk lamp, developed it in NaOH (lots of hassle) then etched it.) [Edit: See the pictures, I made the tracks far too narrow as a rule. TTOTD: make tracks as thick as you can with the space available, in lieu of other constraints. It’ll be easier to etch yourself.]
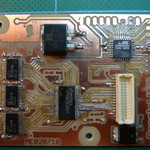
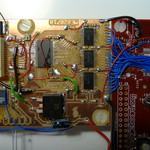
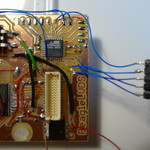
The board houses a DS90C363 LVDS serialiser and octal bus transceivers (SN74AVC8T245s) to step the OMAP3’s 1.8V signals up to 3.3V for the serialiaser. There’s power regulation for the LCD (the BB’s 3.3V line isn’t heavyweight enough) and a MOSFET to switch the LCD’s power. The EDID lines (I2C) from the BB are brought out to an ATmega48, for extra I/O possibilities. (I think I’ll do a PS/2 controller to use a laptop touchpad I have lying around.) The AVR also starts up/shuts down the LCD & serialiser, following the BB’s video enable output.
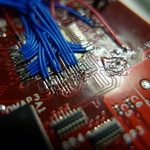
To get at the pixel data, I removed the Beagleboard’s TFP410 DVI serialiser and soldered to its pads. I was after 18 bits of pixel data (it’s only an 18bit panel), HSYNC/VSYNC and PCLK.
7th Feb 2011
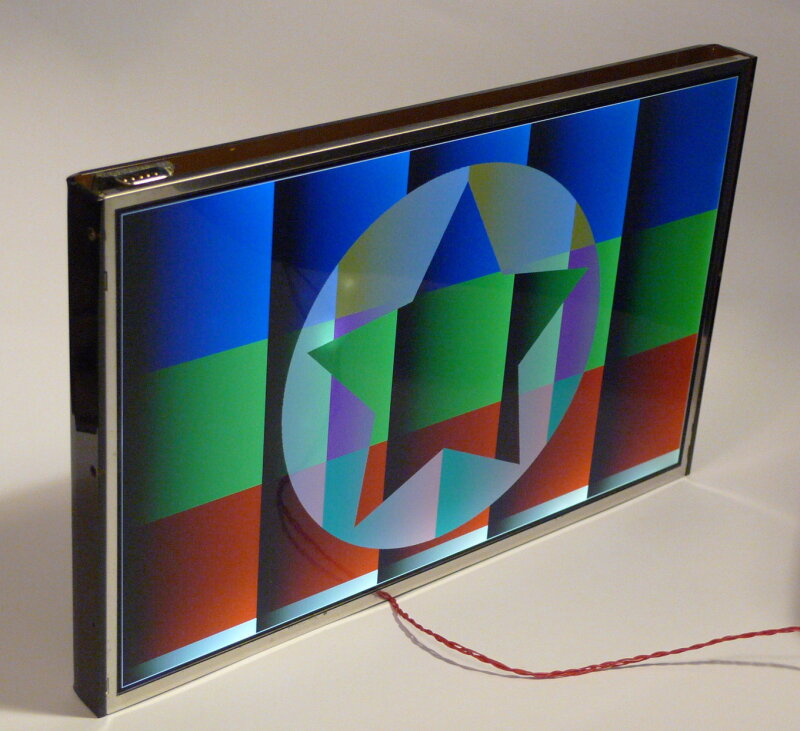
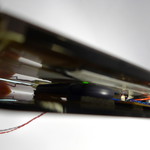
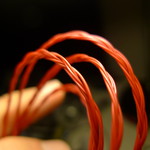
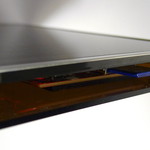
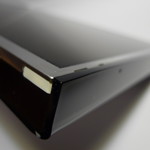
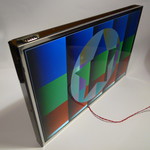
I also had an acrylic case manufactured for it. It’s very simple, a flat ‘U’ shape with open top/bottom; the LCD screws into it from its sides. It’s designed to be wall mounted, with two holes on the back. A braided power cable (for 5V, 12V, Gnd) will hopefully look less heavy & more elegant than the usual tricore flex.
The boards are mounted with double-sided tape (technology!) against the acrylic, along with an RS232 port and the contents of a USB 2.0 hub. This provides an internal USB port for a WiFi adapter, and a misc USB port on the bottom for test/development.
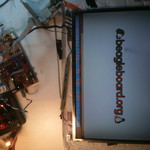
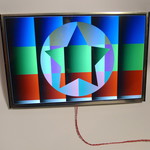
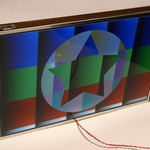
Shown is the test card in my local version of u-boot. The SGX GLES stuff looks pretty nice on this thing, so watch this space – art piece ahoy! :)
10 April 2011
Finally got around to tidying up the schematic. It can be viewed here: Schematic PDF. This schematic is licenced under the GPL.
Images
- Freshly-etched (and scalpelled) PCB
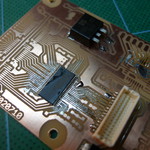
- Adding ICs...
- ...1.8V-3.3V buffers and MCU...
- ...finished with some horrendous airwires.
- More horrendous airwires? Okay!
- Attached to Beagleboard.
- Closeup of ex-TFP410 pads
- Ugly AVR programming header
- Size comparison to LCD
- It works (ish)!
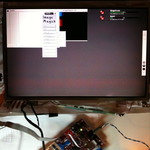
- Testing with desktop
- Rear view.
- 12V, 5V, Gnd in braid
- Case detail
- Test card displayed correctly
- 'Finished' item
